
Data Entry
Add New Loan
This guide will walk you through the steps to create a loan on the system, including collateral loans, MOU loans, advance loans, group loans, personal loans, and custom loan products.
#Loan Types
The system supports the following loan types:
- Collateral Loan: A loan secured by an asset provided by the borrower.
- MOU Loan: A loan issued under a Memorandum of Understanding (MOU) agreement.
- Advance Loan: A short-term loan provided as an advance.
- Group Loan: A loan issued to a group of borrowers collectively.
- Personal Loan: An unsecured loan issued to an individual borrower.
- Custom Loan Product: A new loan product that can be added to meet specific requirements.
#Steps to Create a Loan
#Step 1: Access the Loan Creation Page
- Log in to the system using your credentials.
- Navigate to the Data Entry section on the dashboard.
- Click on Add New Loan.
#Step 2: Select Loan Type
- On the loan creation page, select the type of loan you want to create from the dropdown menu:
- Collateral Loan
- MOU Loan
- Advance Loan
- Group Loan
- Personal Loan
- Custom Loan Product
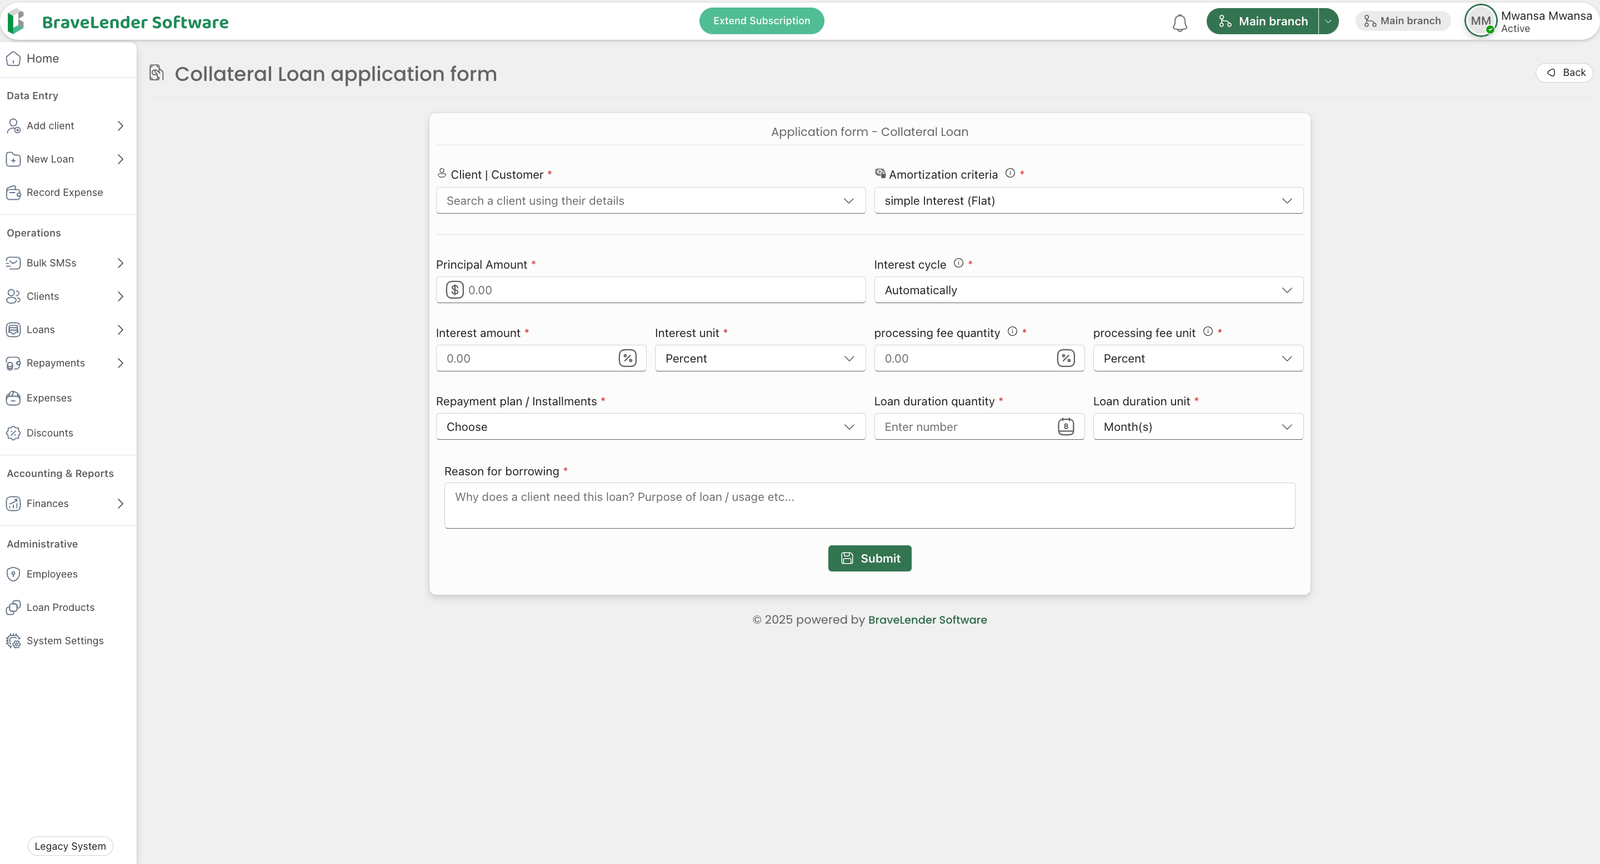
#Step 3: Enter Loan Details
- Fill in the required loan details, including:
- Borrower Information: Select the borrower from the client list.
- Loan Amount: Enter the loan amount.
- Interest Rate: Specify the interest rate for the loan.
- Repayment Schedule: Define the repayment schedule (e.g., weekly, monthly).
- Loan Term: Specify the loan duration (e.g., 6 months, 1 year).
- Collateral Details (if applicable): Provide details of the collateral for collateral loans.
- Group Details (if applicable): Select the group for group loans.
#Step 4: Add Custom Loan Products (Optional)
- If you need to create a new loan product:
- Click on the Add New Loan Product button.
- Enter the product name, description, and default terms (e.g., interest rate, repayment schedule).
- Save the new loan product.
#Step 5: Review and Submit
- Review the loan details to ensure accuracy.
- Click on the Submit button to create the loan.
#Step 6: Confirm Loan Creation
- A confirmation message will appear once the loan is successfully created.
- The loan will now be visible in the Loans section under "Operations."
#Notes
- Ensure that all borrower information is accurate before creating a loan.
- Use the Custom Loan Product option to define loan products tailored to specific needs.
- For collateral loans, verify the collateral details before submission.
#Conclusion
By following these steps, you can efficiently create and manage various types of loans on the system. This ensures flexibility and customization to meet the needs of borrowers.